The difficult part of cooking several dishes is often the space between recipes. One recipe tells you how to roast vegetables. Another explains how to cook rice. Neither knows that you have one oven, two useful burners, a small work surface, and guests arriving while you are trying to plate everything.
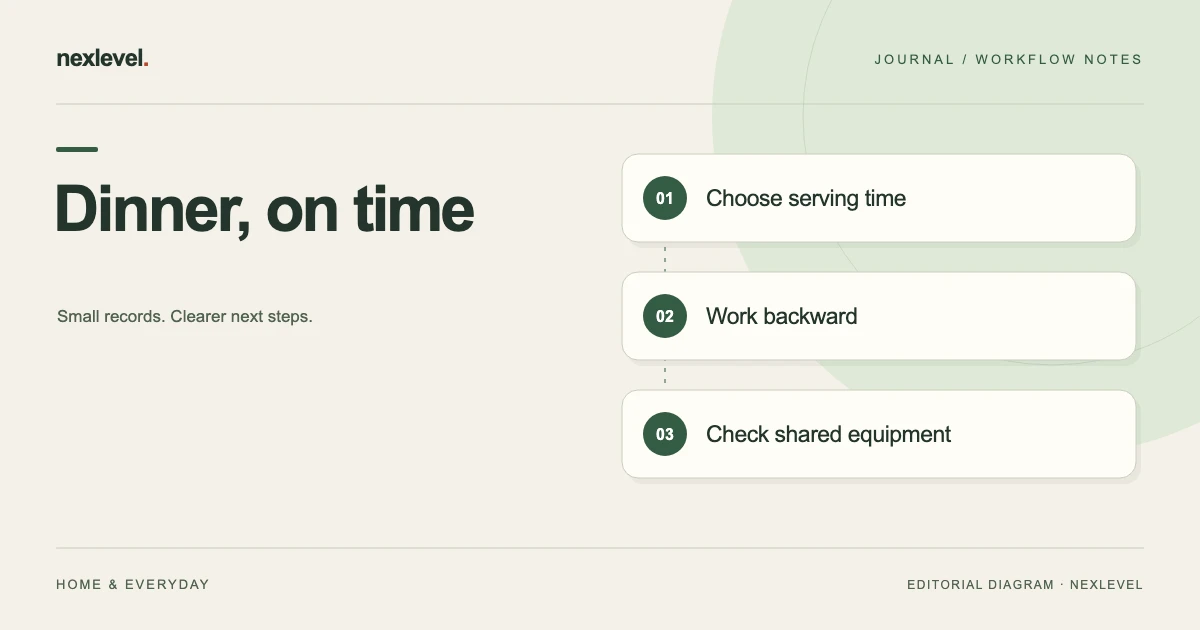
A dinner timeline connects those separate instructions to one shared serving time. Instead of asking what to cook first, you ask what must be finished last, what depends on something else, and which tasks compete for your attention. You can build the plan on paper, in a spreadsheet, or in a dedicated meal-planning app. The underlying method is the same.
This guide uses an illustrative dinner served at 7 p.m. The times are planning examples, not instructions for cooking particular ingredients. Use the preparation, cooking, resting, and safe-handling requirements of your actual recipes when you build your version.
Start with the moment you want to serve
Write one sentence at the top of your plan: “Dinner reaches the table at 7 p.m.” That is more useful than “Start cooking around five,” because it gives every dish a common destination. A start time only describes your intention. A serving time lets you calculate whether the whole menu fits.
Decide what “served” means. Is everyone sitting down to plated meals? Are you carrying serving bowls to the table? Is a buffet ready for people to approach? These are different finishing tasks. A plated meal needs assembly time. A buffet may need labels, utensils, and space for each dish. Put that work into the timeline rather than treating it as something that happens automatically.
Next, separate the serving time from the guest-arrival time. If guests arrive at 6:30, you may want a quiet period to welcome them. That creates another planning constraint: finish the tasks that demand uninterrupted attention before the doorbell starts. It may be sensible to simplify the menu rather than schedule three intensive jobs during that half hour.
Break each dish into stages
Recipes often summarize the whole job as preparation time and cooking time. For coordination, break the job into stages that describe what you actually do. A useful list might include preparation, preheating, active cooking, unattended cooking, resting, final seasoning, and plating. Only include stages that apply to the recipe.
Give each stage a duration and a resource. Chopping uses your hands and a work surface. A simmer uses a burner but may leave your hands available. A finishing sauce can occupy both your attention and a burner. Two stages with equal durations can create very different pressure in the kitchen.
A practical stage card contains five fields: the dish name, the action, its expected duration, the resource it needs, and the action that must precede it. You do not need an elaborate database. “Rice: simmer, 20 minutes, burner one, after bringing to a boil” is already more actionable than a single entry saying “rice: 30 minutes.”
Keep the level of detail useful. You do not need a separate reminder for picking up a spoon. You do need one for a transition that you could easily miss, such as moving from active preparation to a timed cooking stage. If the plan takes longer to read than the action takes to complete, combine small steps.
Work backward, one dependency at a time
Suppose your example menu needs five minutes for final plating. The plating stage must start at 6:55. Any dish required for plating must therefore be ready by 6:55, not 7:00. If a dish needs a recipe-specified rest before plating, subtract that duration next. Continue backward through the remaining stages.
The basic calculation is simple: the latest start of a stage equals its required finish minus its duration. The benefit comes from repeating that calculation through the full chain. A dish that needs 30 minutes in the oven may also need 15 minutes of preparation and a separate preheating stage. Starting the entire job 30 minutes before dinner would miss those dependencies.
Work backward for every dish independently before combining them. This gives you an honest first draft. You may discover that several dishes want preparation at exactly the same time. That is useful information. The conflict was already present in the menu; the schedule has made it visible while you still have time to change something.
Check the plan against your actual kitchen
A timeline is only feasible if the resources exist. Check the oven, burners, pans, utensils, counter space, and your own attention. Treat yourself as a limited resource too. You cannot continuously stir a sauce while chopping vegetables across the room simply because both tasks fit into the same ten-minute block.
For the oven, look beyond whether two trays physically fit. Check the temperature and timing requirements of the actual recipes. If they are incompatible, choose a different sequence or a different dish. Do not change a recipe’s cooking requirements merely to make the calendar look tidy.
For your hands, mark demanding stages with a simple symbol. If two marked stages overlap, move one earlier where the recipe permits, delegate one, or simplify the menu. This review often matters more than shaving a few minutes off the total cooking time. A calm plan keeps simultaneous demands within what you can realistically handle.
Also check the transition space. A tray leaving the oven needs somewhere to land. Finished dishes need serving bowls. A blender may need cleaning before its next use. These are small tasks, but they become bottlenecks when every surface is occupied. Add short setup or cleanup stages where a shared resource must change hands.
Build a visible example timeline
Here is a compact illustration of how the final portion of a dinner plan might look. It deliberately uses generic tasks. Replace every duration with the requirements of your chosen recipes, and add any stages that are missing from this example.
| Time | Action | Resource check |
|---|---|---|
| 6:10 p.m. | Prepare the first oven dish | Hands and clear counter |
| 6:25 p.m. | Begin the planned oven stage | Oven at the required setting |
| 6:30 p.m. | Start the stovetop dish | Available burner and pan |
| 6:40 p.m. | Arrange serving bowls and utensils | Table and landing space |
| 6:50 p.m. | Complete recipe-specific finishing stages | Attention available |
| 6:55 p.m. | Plate or transfer to serving bowls | All required components ready |
| 7:00 p.m. | Bring dinner to the table | Clear route and serving space |
Notice that the example includes serving preparation before the food is finished. That is intentional. Finding a missing spoon at 6:40 is a small inconvenience. Finding it while three dishes are ready to leave the kitchen creates a queue. Move decisions and setup work away from the busiest part of the evening.
Add useful buffers, not hidden optimism
A buffer is time reserved for uncertainty. It should be visible in the plan, rather than quietly buried inside several estimates. If you add ten extra minutes to every stage without remembering where they went, the schedule becomes difficult to improve after the meal.
Place buffers near uncertain work: unfamiliar preparation, equipment setup, finding ingredients, or changing from one task to another. Do not assume that finished food can wait indefinitely. Whether a dish can be prepared ahead or held depends on the recipe and appropriate handling guidance. A scheduling tool cannot replace those requirements.
There is also a difference between working early and finishing early. You may be able to measure ingredients, arrange equipment, or set the table earlier without moving the final cooking stage. That removes pressure while preserving the intended sequence. Look for those opportunities before adding more time to the end of the meal.
Recover from a delay without rewriting history
When a task runs late, first record what actually happened. If preparation ended at 6:28 rather than 6:20, keep that fact. Do not simply slide the original checkbox into a new position and pretend the earlier estimate was correct. Actual times are what make the next plan more accurate.
Then identify which later stages depend on the delayed task. Some parts of dinner may continue unaffected. Others must move. Recalculate those dependent stages, check shared resources again, and look at the projected serving time. This is more informative than restarting every timer or moving every dish by the same amount.
Choose the response deliberately. You might delay serving, simplify a nonessential finishing step where appropriate, ask someone to handle table setup, or change the order in which courses are presented. Avoid trying to recover time by ignoring recipe requirements. The schedule should describe a feasible meal, not pressure you into meeting a fictional deadline.
A useful recovery question is: “What is the next decision that changes the outcome?” If the oven stage cannot move, repeatedly checking it does not help. Preparing the serving area or telling guests the revised time might. Make the new plan visible so that everyone helping works toward the same target.
Choose a tool that matches the complexity
For two familiar dishes, a sheet of paper may be sufficient. Draw a column for each dish, write the serving time at the bottom, and work upward through the stages. Circle the points where two tasks compete for your hands. Keep a separate list of jobs that can happen earlier.
A spreadsheet becomes useful when you want to reuse the meal or compare several schedules. Keep duration, required finish, and calculated start in separate columns. Include a resource column so that the calculation does not hide conflicts. Remember that arithmetic alone will not notice that two dishes need the same pan.
A dedicated app can help when the meal has several linked stages and the plan needs to change while you cook. DishCadence describes its workflow as planning dishes backward from one serving time, following the coordinated timeline, and recalculating after recorded changes. Its product page also describes local alerts and Apple-device views. Check current availability and the product’s support information before making it part of your routine.
The best tool is the one you can understand with flour on your hands and someone asking a question. A beautifully detailed system that hides the next action is less useful than a short, readable list. Test your chosen format with an ordinary meal before relying on it for a larger occasion.
Keep a short review for next time
After dinner, capture three observations while they are still fresh: which stage took longer than expected, which resource conflict appeared, and which preparation step made the evening easier. You do not need a full report. A few specific notes make the saved timeline more useful.
Write “washing and chopping took 18 minutes” instead of “start earlier.” Write “serving bowl was still in the dishwasher” instead of “be more organized.” Specific observations translate into changes. General judgments mostly create frustration. The goal is to improve the plan, not grade the cook.
Update your reusable template with actual durations where the circumstances were typical. Keep exceptional events separate. A conversation at the door may explain a one-off delay; it does not necessarily mean the preparation stage always needs another twenty minutes. Over several meals, you will develop estimates that fit your kitchen and your pace.
Your next dinner, in five decisions
Start small. Choose a meal you already know, set a serving time, and list its real stages. Work backward, check the shared resources, and reserve a few minutes for final assembly. If the first draft has a conflict, change the plan while the ingredients are still in the fridge.
Before cooking, answer five questions: When are we serving? What must happen immediately before that? Which tasks need my full attention? Where does the equipment conflict? What will I change if the most uncertain stage runs late? Those answers give you a usable plan without turning dinner into an administrative project.
Once you have tried the method, save the timeline and your short review together. The next meal starts with evidence rather than a blank page. Whether you use paper or a coordinated meal planner, the purpose is the same: make the next action clear enough that you can spend less time mentally juggling the schedule.
Product reference: DishCadence’s first-party product information. The dinner timings in this article are illustrative planning examples, not tested recipes or cooking instructions.