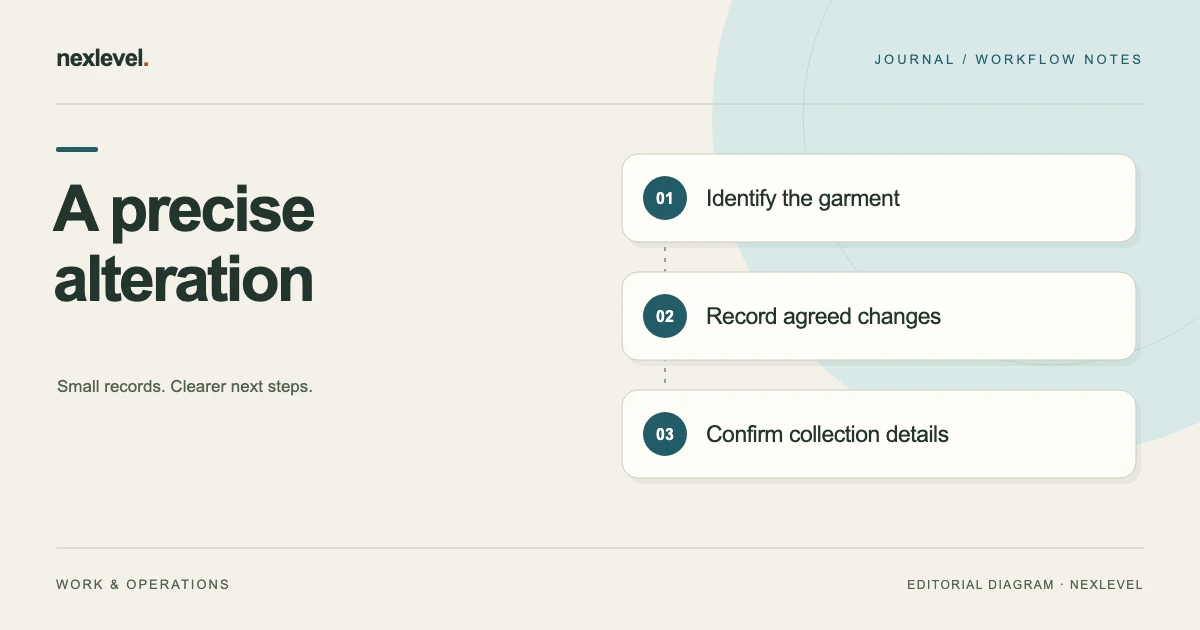
A clothing alteration ticket should let the person doing the work identify the right garment, understand the agreed alteration, and see what still needs a fitting or decision. It should also help the studio explain the current state to the customer at pickup. A name, a due date, and “take in” leave too much room for interpretation.
This clothing alteration ticket template connects garment identity, visual notes, measurements, fitting history, status, and pickup. The fictional example illustrates recordkeeping rather than tailoring technique. Measurements and construction decisions still require the professional judgment and fitting process appropriate to the garment and customer.
Give the ticket and each garment separate identities
Start with a ticket number and a customer reference. Then identify each garment within the ticket. One customer may bring several similar pairs of trousers, and a single appointment may include pieces with different due dates or instructions. The ticket should not force those differences into one vague note.
Use a short readable description: garment type, color, distinctive features, and your own garment reference. A photograph can support identity, but a photo alone may be difficult to distinguish when similar garments are stored together. Keep the physical handling label and digital reference consistent with your studio’s process.
Record the intake date and the person who received the garment. Note accompanying items when relevant, such as a belt or detachable accessory. Avoid storing more personal information than the work requires, and keep contact details in their designated field rather than repeating them in every photo caption.
If the customer returns with another garment later, create a clearly related but distinct record. Reusing the old garment entry can mix an earlier measurement, balance, or pickup state into the new job.
Copy this alteration ticket template
Use the following fields as a starting structure. A small routine alteration may need only a few concise entries; a garment with several fittings may need a more detailed history.
- Ticket: reference, customer, contact route, intake date, and receiving staff member.
- Garment: identifier, description, photos, relevant supplied accessories, and intake observations.
- Requested work: each alteration point, its location, and the intended result.
- Measurements: value, unit, measurement type, reference points, and fitting date.
- Fitting decisions: what was reviewed, what changed, who recorded it, and unresolved questions.
- Schedule: fitting appointments, target completion, customer-required date, and agreed pickup arrangement.
- Commercial record: quoted or agreed amounts, deposits, payment entries, and remaining balance.
- Status: current workflow stage, next action, and responsible person.
- Approval and pickup: identifiable version reviewed, acknowledgment state, pickup event, and receipt reference.
Use explicit labels for unknown or undecided information. A blank measurement can mean not taken, not applicable, or accidentally omitted. A short status such as “to confirm at fitting” makes the intended next action visible.
Make measurement notes interpretable
A number is not a complete alteration instruction. Record the unit and what the number measures: the customer’s body measurement, the current garment dimension, a proposed finished dimension, or the amount of change. These values may be related, but they are not interchangeable.
Identify the reference points and the side or area when relevant. “Shorten 2” does not tell the next person whether the unit is centimeters or inches, which part is affected, or whether the figure represents a trial adjustment. Write enough context to remove those uncertainties.
Keep the measurement date and fitting context. A measurement recorded while discussing one pair of shoes or one intended wearing position may not describe another fitting. Do not silently copy earlier values to a new garment simply because the customer is the same.
When a value changes, preserve the earlier entry and identify the newer instruction. The current working note should be obvious, while the history explains why it differs from intake. A versioned record is more useful than a series of crossed-out numbers with no dates.
Use visual alteration points with written instructions
Marking a point on garment imagery helps identify location. Pair the marker with readable text that explains the requested change and relevant measurement. The visual point says where; the note says what and under which reference.
Use consistent labels, such as P1 and P2, across the image and ticket. If a garment has several views, say which view contains the marker. A close-up may show detail while losing orientation, so include enough context to identify the area.
Distinguish intake observations from alteration instructions. A visible mark or worn area recorded at intake should not look like a request to repair it. Conversely, a repair instruction should not disappear into a general condition note.
Review the annotated image at a readable size before handing the ticket to someone else. Tiny markers, overlapping labels, or color-only distinctions can make the map hard to interpret. Written identifiers keep the record usable when printed or viewed on another device.
A fictional worked ticket: two pairs of trousers
Imagine a studio receives two pairs of dark trousers from one customer under ticket AT-031. Garment A has a distinctive pocket detail; Garment B has a different fabric texture. The studio gives each its own identifier and photo rather than recording both as “black trousers.”
For Garment A, alteration point P1 identifies the hem area. The ticket records the proposed finished measurement and the reference used during the fitting. Garment B requires a separate fitting decision, so its related field reads “not confirmed; review at next appointment.” No measurement is copied from A.
The customer needs Garment A for an event, while Garment B can be collected later. The ticket preserves both the customer’s required date and the studio’s agreed completion arrangement. The work queue makes A’s next action visible without falsely showing B as ready.
At the next fitting, the studio records a revised decision for A and confirms the instruction for B. Each entry has a date and recorder. At pickup, the record identifies which garment was collected, the balance state, and the receipt. If B remains at the studio, the whole ticket is not casually marked collected.
Keep requested dates, promises, and appointments distinct
A customer-required date is important context, but it is not automatically a confirmed completion promise. Record what the customer needs and what the studio has actually agreed. If they differ, make that discussion explicit before work begins.
Separate fitting appointments from pickup arrangements. A fitting may lead to another adjustment, so attendance alone does not mean the garment is ready to collect. Keep the next action and current status clear after each appointment.
When timing changes, record the new arrangement and the communication state. “Proposed Friday pickup” is different from “customer confirmed Friday pickup.” A reminder can prompt you to make contact, but it does not establish that the customer received or accepted the new date.
For multiple garments, allow the schedule to reflect individual progress. A garment waiting for clarification should not disappear behind another garment’s ready status. This is especially useful when the customer collects pieces separately.
Record fittings as events rather than rewriting intake
Each fitting should state what was reviewed, the relevant garment and version, the decisions made, and remaining work. Keep the history concise enough to read, but do not replace the original intake note with the latest instruction as if nothing changed.
Attribute decisions accurately. A customer preference, a professional recommendation, and a confirmed instruction are different states. If a recommendation has not been accepted, label it as proposed and identify the next decision needed.
After a fitting, update the current working instruction and next action. The history preserves context; the active ticket tells the person doing the work which instruction applies now. Both are needed to prevent an old note from driving a new adjustment.
If a fitting reveals a new request, record it separately and review its practical effects before adding it to the work. You can clarify the garment instruction while also identifying changes to timing or the agreed commercial record.
Keep payment entries separate from the work status
A garment can be ready while a balance remains outstanding, or payment can be recorded while work is still in progress. One status should not stand in for the other. Show the work state and commercial position in their own fields.
Record the amount, currency, date, and purpose of each entry. A deposit, an additional payment, and an adjustment should be distinguishable. Preserve the original agreed figure and the source of later changes rather than repeatedly replacing the total.
Use the receipt or other appropriate business record for the actual transaction. A note that the customer plans to pay at pickup is not a payment entry. Likewise, a quoted amount is not evidence that it has been accepted or paid.
At handoff between staff, make the balance source clear. The next person should not need to reconstruct it by adding figures from several unlabelled chat messages.
Prepare a clear ready-for-pickup check
Before marking work ready, compare the garment with its current instructions and the fitting decisions. Check that each recorded alteration point has a clear outcome, and identify anything intentionally left open. The record should match the garment being handed back.
Confirm garment identity and accompanying items. Review the customer-facing receipt for the correct ticket, garment references, and commercial information. A visually similar garment or an old receipt can create confusion even when the alteration work itself is complete.
When recording approval, identify the information or version reviewed and the actual acknowledgment state. Do not use a generic approval marker to imply a broader legal effect than your process supports. If the customer requests another adjustment, preserve that request and the next action.
Record pickup as an event with its date and the relevant garments. If collection is partial, keep the remaining items visible. Archive the ticket only when its work and collection history are understandable.
Bring an incomplete older ticket into the system carefully
When converting a paper ticket or an older note, preserve the original and identify the new entry as a transcription. Copy the details you can read, then flag what needs confirmation. Do not fill an unclear measurement from a different garment’s record simply to make the new ticket look complete.
Match the physical garment before assigning the digital reference. Check the distinguishing description, label, and relevant imagery. If there is any doubt about which garment belongs to the note, resolve identity before using the instructions for further work.
Separate historical uncertainty from the current next action. You may not know the date of an old fitting, but you can still record that a new fitting is needed to confirm the instruction. This gives the team a useful path forward without presenting reconstructed history as exact.
At the next customer interaction, confirm the fields that affect work or collection. Record the new answer with its date rather than rewriting the original ticket to suggest it was always known. A careful migration preserves useful context while making the current instruction explicit.
Use AlterationTicket for the garment’s complete trail
AlterationTicket brings garment imagery, alteration points, measurements, fitting history, balances, approval snapshots, and pickup receipts into one local workspace. Its official listing describes optional local pickup reminders and Apple Watch pickup support, with records staying on the device unless you choose to share or export them.
View AlterationTicket on the App Store for current features and access. Start with a readable identity and one well-specified alteration point, then use the ticket consistently through fitting and pickup. The template succeeds when the next person can understand the current instruction without guessing.
Sources and example scope
Product capabilities were checked against the official AlterationTicket listing and product page. The studio, ticket, garments, and fitting sequence are fictional. The guide provides an original recordkeeping template, without prescribing tailoring technique, measurement standards, or legal approval effects.