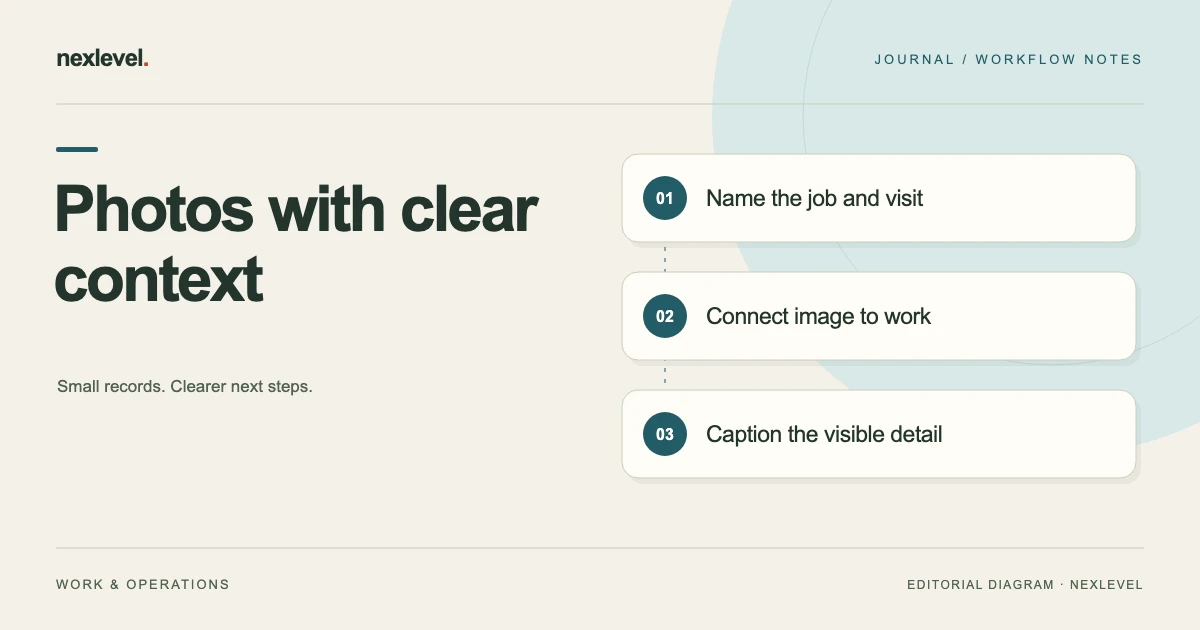
Label a service photo with its job, visit, location or work item, and evidence role, then add a caption describing the visible detail and any important limit. Keep before, after and follow-up occasions distinct. A clear caption helps the next technician interpret the image without making it prove an unseen action.
Make each image traceable to the right visit
- Match the image to a stable job and visit reference before naming its stage.
- Identify the location and work item using the same scheme as the job record.
- Describe the visible detail, source occasion and any missing view in the caption.
- Inspect the exported report and ask another technician to retrieve the image and related work note.
Working fields:
Image | Job/visit | Location/item | Evidence role | Visible detail | Source context | Limit | Related work note
Useful next steps: Connect photos to the completion report, Check what a photo actually supports.
Begin with the job and visit references
Use a stable job reference and distinguish separate visits. A return visit can concern the same customer and site while showing a different condition. Keep those relationships clear before choosing detailed image names.
Record the visit date and its source through the actual job workflow. A photo’s filename or file-modification time should not be the only explanation of which visit it represents. Copies and exports can have their own file dates.
Keep the service record and image reference connected. If the photo is stored outside the working app, maintain a usable location or index reference. If the app manages the image, use its supported labeling and export workflow rather than changing internal files.
Identify the location at a useful level
Describe enough of the site for a technician who did not attend. A room, bay, fixture, or other agreed location reference can be more useful than “left side,” which depends on where the observer stands.
Keep the wording consistent with the job’s location scheme. If the customer uses a different label, record the relationship where it matters. Similar-looking areas should not require the recipient to guess from a small background detail.
Do not include unnecessary private site information in a share copy. Use the actual access and confidentiality arrangements for the job. The retained record can preserve required context without every exported image carrying unrelated sensitive details.
Connect the image to a work item
Give the relevant task or work item an identifier or clear description. One visit may contain several completed actions, and one photograph may show more than one item. Record which observation the image is intended to support.
Keep the work description separate from the image’s visible content. “Handle replacement completed” is a work record statement. “Image shows the handle and surrounding panel after the recorded task” describes the view. They can be connected without pretending the image alone establishes every aspect of completion.
Use additional evidence or the responsible review process where the claim needs more support. A photo cannot make an unseen action visible simply because its caption says the action happened.
Label the evidence role accurately
Useful roles can include before, after, detail, exception, reference document, or follow-up. Define the labels in your own process so recipients know how to interpret them. Avoid relying on a color or folder position alone.
Use “before” only when the record establishes that the image represents the relevant earlier state. An imported image from another visit or an uncertain source should retain that limitation rather than receiving a convenient stage label.
Keep follow-up evidence distinguishable from the original after-work view. A condition observed days later may matter to the job history, but it should not replace the evidence of what was recorded at the earlier visit.
Use a compact labeling template
A practical structure contains: job reference; visit reference; location or item; evidence role; sequence number; caption; source or capture context; and any limitation. Add a relationship to the relevant work or exception record.
For deliberately exported files, a readable pattern might be job, visit, item, stage, and sequence. Use the actual exported format and the tool’s supported naming behavior. The pattern is a working example, not a required app filename scheme.
Keep long explanations in captions or an index rather than forcing every detail into a filename. The identifier should help retrieval; the caption should explain what the image contributes to the record.
Work through a fictional service set
Imagine job J204, visit V02, with work item W03 at a labeled storage cabinet. Image E01 records the initial visible handle condition. E02 shows a relevant detail. E03 records the visible area after the documented work.
The index connects each image to J204-V02-W03 and labels its role. The after caption describes the visible handle and panel, while the work checklist separately records the action completed by the technician.
If a later visit V03 produces another image, it receives a new visit reference and role. The recipient can now distinguish the original sequence from follow-up evidence instead of treating every similar photograph as an interchangeable view of the same event.
Write captions that describe rather than overstate
Start with the location and the relevant visible detail. Include the relationship to the work item and any important limitation. A clear caption should help the reader inspect the image rather than asking them to accept a conclusion they cannot see.
For fictional E03, a caption could read: “J204, V02, W03, cabinet handle area after the recorded task; front view shows handle and surrounding panel. Internal fixings are outside this view.” This is example wording, not a technical assessment.
Avoid labels such as “fully compliant” or “all defects resolved” unless the broader record and appropriate process actually establish that conclusion. A photograph with a confident caption does not supply missing inspection evidence.
Keep wide and detail views related
A wider view can help locate the item, while a close detail can make a specific observation inspectable. Record their relationship in the index so the recipient can move between context and detail.
If a detail is cropped from another image, preserve the source relationship where your process requires it. Do not present the crop as an independent capture with unexplained context or a different visit identity.
Choose the evidence needed for the task within the site’s actual capture permissions and safe working arrangements. Do not take an unsafe action or invent a technical procedure merely to obtain a more complete-looking photo set.
Record missing or inaccessible evidence
When an area could not be photographed, state what is missing and why it matters to the record. Keep that limitation distinguishable from a statement that no issue exists there.
Use a next-action field when another view or responsible review is needed. Identify who can resolve it through the actual service process. A blank image slot with no explanation can be mistaken for an accidental omission.
For J204, if the rear of the cabinet was outside the visit’s accessible scope, record that boundary rather than adding an unrelated image as a substitute. The handoff should preserve what was actually observed.
Keep duplicate and edited copies understandable
A phone library, imported job image, report preview, and exported PDF can contain related copies. Identify the source and the role of each retained copy. Similar files should not look like separate observations merely because they have different filenames.
If your workflow creates a crop or annotated copy, keep its relationship to the source clear and follow the actual tool’s supported behavior. Avoid silently replacing the retained source with a different presentation.
Do not claim that an image is original, unaltered, or independently verified unless the record supports that description. The labeling method organizes evidence; it does not create a technical authenticity guarantee.
Prepare an image index for the handoff
Use one row per meaningful image reference, with job, visit, item, role, caption, location, and limitations. Include the work checklist or exception reference it supports. Keep identifiers consistent across the index and report.
A compact fictional row can say: “E03; J204-V02-W03; after; cabinet handle front view; supports the visible post-task condition; internal fixings outside frame.” This gives the next technician a specific interpretation boundary.
Check whether the recipient can open the actual image or only a report thumbnail. If detail matters, provide the appropriate accessible source or reference through your organization’s approved arrangement.
Keep customer acknowledgment distinct from evidence
If a service workflow records customer acknowledgment, identify what information the customer was shown and which report edition it concerns. Do not use the acknowledgment to fill a missing photo or an unsupported technical statement.
Keep the customer’s recorded action separate from the technician’s work checklist and the image observations. Those records may all contribute to the visit history, but they answer different questions.
Use the actual product and organizational language for acknowledgment. Do not describe a review acknowledgment as a qualified electronic signature or as proof of a technical conclusion the record does not establish.
Inspect the actual report copy
Open the report intended for the recipient. Check image labels, order, captions, visit references, work items, exceptions, and any visible unresolved notes. A correct working index does not guarantee that an older report copy has been replaced.
Confirm what the report includes versus what remains in the original job record. A PDF may be useful for reading without recreating the complete editable workspace or every source image.
Keep the report edition identifiable and preserve its relationship to the visit. If a correction is needed, follow the supported version workflow rather than distributing different files under an indistinguishable final label.
Test the set with another technician
Ask a colleague to identify the job, visit, work item, and evidence role for one image without your explanation. Then ask them to locate the related work note and describe the image’s limitation.
For fictional E03, they should understand that it shows a front view after the recorded task and does not show internal fixings. If they infer that it proves every hidden step, improve the caption or supporting record.
Record the ambiguities found and fix the source labels or index. This practical reconstruction checks whether the handoff can be used by someone outside the original visit, without claiming that every service conclusion has been independently validated.
Reconcile images from more than one person
Two technicians may supply images with the same simple filename or sequence number. Keep the source sets distinguishable until the job record establishes how they relate. Do not assume that two files called “after01” show the same item or represent duplicate copies.
Record the source person or role where appropriate, the relevant visit and item, and the original reference. If you create a combined handoff index, map each source reference to a clear index entry while preserving the original relationship. Use the tool’s supported labeling workflow rather than manually renaming internal managed files.
For fictional J204, one source set might show W03 during V02 while another shows it during V03. The combined index should preserve those visit identities even when the images look similar. Ask the contributor to clarify missing context through the normal job process. A new filename can organize an image, but it cannot supply an observation that was never recorded.
Use ProofLedger for connected visit records
ProofLedger connects service jobs, labeled before-and-after evidence, work checklists, materials, exceptions, and versioned completion reports. Its current listing describes deliberate PDF sharing and a local archive of draft and completed jobs.
Customer acknowledgment is presented as an acknowledgment rather than a qualified electronic signature. Check current features and plan details in the official ProofLedger App Store listing, and keep each photograph’s role and limitation clear in the report you share.